Make money by selling your used books on-line at Powell's!

Sell your books to Powell's

Saturday, November 13, 2010

Easy as Apples

We were lucky in a few ways this year as far as our gleaning went.  Our wonderful neighbors Terry and Shirley not only shared all of their left over tomatoes with us, but also all of their canning jars.  This was wonderful and truly a windfall for us.  Thank you again Terry and Shirley for all!!!  Then our friend Bonnie told us we could come out to the farm and glean apples.  We really went to visit with her, but also got lots of apples.  We came home and this is what we did.

Apple Butter/Sauce

Wash all the apples
Cut all the apples into quarters (do not take out cores or seeds)
Fill to one inch below the top of a six quart pan with the apples
add 1/3 cup honey
add one teaspoon of salt
add 4 cups water

Cook down until apples are tender, about the same as you would cook for mashed potatoes.  Add cooked ingredients a small amount at a time to a food mill.  I find cranking 3 times to the right and once to the left seems to speed it up a bit.  Process all the apples this way and add to a crock pot, cook on low for 4 to six hours until apples are a medium brown for apple butter, stirring occasionally.  For applesauce add back to pan, bring to a simmer, cook until you get the consistency you would like.  Hot pack into canning jars leaving half inch of head space.  Put in boiling canner, process for 10 minutes, here is a chart to help with elevation times:

Altitude Adjustments for Boiling Water Bath Canner
Altitude in Feet
Increase processing time
1001-3000
5 minutes
3001-6000
10 minutes
6001-8000
15 minutes
8001-10,000
20 minutes
Remove from canner when processed and allow to cool, listen for those lids.  I love that POP!  We did two batches this way, one of butter and one of sauce.  Here is our reward!

Monday, November 8, 2010

Laundry Day at the OK!

Okay, so I didn’t actually keep my promise to post the week after my last blog.  Got sick and then sicker, but am feeling a little better now.  I actually was busy doing things when I was feeling okay in prep for my blog.  Let me share what I found!  Laundry soap!  
These ingredients cost me $7.58 cents at Winco.  Imagine making the equivalent of 10 gallons of laundry soap for that price.  Not only that, I will at least three more batches from the borax and super washing soda, only having to purchase the Fels-Naptha for $2.50 a bar for the next batches.  This means 30 gallons of laundry soap for 12.58…..crazy talk.  How can you do it too?  Well easy, here is the recipe and some pictures to follow along with.  I got this recipe from the Duggar Website, they have 19 children who all manage to look clean on TV, so I figured it must work and it does.  Here is their site, if you care to look. http://www.duggarfamily.com/recipes.html
Homemade Liquid Laundry Soap- Front or top load machine- best value
4  Cups - hot tap water
1  Fels-Naptha soap bar
1 Cup - Arm & Hammer Super Washing Soda*
½ Cup Borax

- Grate bar of soap and add to saucepan with water. Stir continually over medium-low heat until soap dissolves and is melted.  This takes about 20 minutes, so it's nice to have someone else around to take over in case your arm gets tired.  Mine got tired!


 -Fill a 5 gallon bucket half full of hot tap water. Add melted soap, washing soda and Borax. Stir well until all powder is dissolved. Fill bucket to top with more hot water. Stir, cover and let sit overnight to thicken.


-Stir and fill a used, clean, laundry soap dispenser half full with soap and then fill rest of way with water. Shake before each use. (Will gel)
-Optional: You can add 10-15 drops of essential oil per 2 gallons. Add once soap has cooled. Ideas: lavender, rosemary, tea tree oil.
-Yield: Liquid soap recipe makes 10 gallons.
-Top Load Machine- 5/8 Cup per load (Approx. 180 loads)
-Front Load Machines- ¼ Cup per load (Approx. 640 loads)
*Arm & Hammer "Super Washing Soda".  Baking Soda will not work, nor will Arm & Hammer Detergent - It must be sodium carbonate!!
If you have a stubborn stain, pour a little on the stain, rub in and let sit for at least 10 minutes before washing. Even worked for our daughter who has sensitive skin!  Good luck and enjoy the recipe and the clean clothes.

Wednesday, October 20, 2010

Gleaning Your Own Neighborhood

A short post on Gleaning.  Gleaning is the process of collecting the end of the harvest that no one else wants.  We went to a friends farm this weekend (thank you Bonnie) and they had so many apples still on the trees.  It got me thinking about my own neighborhood and how much food goes to waste just rotting on the ground.  Bonnie was nice enough to let us pick as many apples as we wanted and my girls got the benefit of the filberts (hazel nuts) that had fallen beneath the tree.  Bonnie explained to us that they can never use as many apples as they grow and have asked people in their church to come pick as many as they want.  Unfortunately, no one wants to come pick them.
When I got home I started looking around my own neighborhood and was shocked to see how many people have apples rotting away.  I am sure that when I ask, they will be more that happy to have my family come pick them, it will cut down on their clean-up.
I am drying the nuts in their shells and will have a family adventure in hulling and roasting them this weekend.  I am making and canning apple butter this weekend as well.  I will take pictures and post the recipe when I am done.
My friend Fawn and I are making the laundry soap, probably on Saturday and we will let you know how that goes.  Should be a rash of good posts next week!!!  Enjoy your day and think about the money you can save in your own neighborhood by gleaning and canning.  Free is a very good price!

Thursday, October 14, 2010

An Adventure in Bread Making

Here's my story: I had bought a forty pound bag of flour at Costco ( I think it was around $7.00), not because I needed that much, just because I was in a hurry, needed some and did not want to make another stop.  Ever do that? So here I was with all this all purpose flour, what to do with it?  Make bread and save some money right?  Well, all the recipes I found wanted bread flour.

In the past when I wanted home baked bread, I bought the frozen kind from the store, or a loaf of warm french bread.  Both are more expensive and not that good for you.  I searched and searched for a really easy recipe that could fix all of that for me and found one at allrecipes.com for Amish Friendship bread.  With some tweaking, ended up with something really good and versatile for my family.  Of course it had to be fast too and this one is. Give it a try and see what you think.  My family is now upset if they don't get their bread fix at least every other day.  This recipe makes two big loaves, so I freeze one to use one the next bread fix day.  This means this takes me about 20 minutes prep time every four days, easy peezy, I can do that!


Ingredients
2 cups warm water (110 degrees F/45 degrees C)
1/3 cup honey (you can use white sugar, but we are trying to get it out of our diet)
1 1/2 tablespoons active dry yeast (I use bakipan fast rising instant yeast)
1 1/2 teaspoons salt
1/4 cup vegetable oil
6 cups all purpose flour (you can use bread flour or wheat if you prefer)


Directions

In a large bowl, dissolve the honey in warm water, and then stir in yeast. Allow to proof until yeast makes a creamy foam.

Mix salt and oil into the yeast. Mix in flour one cup at a time. (I do this whole process in my mixer with a bread hook, it goes fast).  Dough may come out a little sticky due to the honey, but will firm up when you knead it.  Knead dough on a lightly floured surface until smooth (It just takes a few kneads to do this). Place in a well oiled bowl, and turn dough to coat. Cover with a damp cloth. Allow to rise until doubled in bulk, about 1 hour.

Punch dough down. Knead for a few minutes, and divide in half. Shape into loaves, and place into two well oiled 9x5 inch loaf pans. Allow to rise for 30 minutes, or until dough has risen 1 inch above pans.

Bake at 350 degrees F (175 degrees C) for 30 minutes.

This is a great all purpose recipe, use for rolls, pizza crust or even knead in garlic powder and herbs (I use Italian seasoning) and shape like a French bread loaf on a oiled cookie sheet, cover with a towel and let rise.  This makes a great alternative to heavily buttered French bread and tastes great.  Just eyeball the amounts like you do on your regular garlic bread and you will have a great loaf!  Enjoy and keep me posted on how it goes for you!

Wednesday, October 13, 2010

Well Here we go!!!

Hello everyone.  I decided to start a little blog about my adventures in Zombie proofing my home.  Now I know everyone is saying, "What?  Zombie proofing your home????".  Yep!
There are a whole lot of sites out there that talk about what to do in a disaster, how to store food in the event of one and all that jazz.  What this blog is going to be about is the fact that The Zombie Apocalypse is already here... sort of.  I look around my neighborhood and many have lost their jobs and are living on one income, some are surviving on just unemployment.  The economy is recovering they say, but they also say it is a jobless recovery. I lost my job two years ago and unemployment is gone!  We are making due with one income.
Prices are going up and so I have been researching how to save money and posting my discoveries on Facebook.  There seems to be some interest, so I am starting this blog so I can easily share what I am learning with all of you. I will be posting recipes mostly, but as I research, who knows what all I will find!
So far we have done a whole lot of gardening, I have learned to bake, we have learned to can (Mark really likes canning too) and my next adventure to keep out the Zombies is laundry detergent making!  I will post later to tell you how it went and the discoveries I made along the way.  So follow my blog and join in the discoveries!
In the meantime here is a recipe I made up for all the green tomatoes that seem to be out there with nothing to do.  I am also including one to use the salsa.  Try them and see what you think.  I would love to hear your feedback.
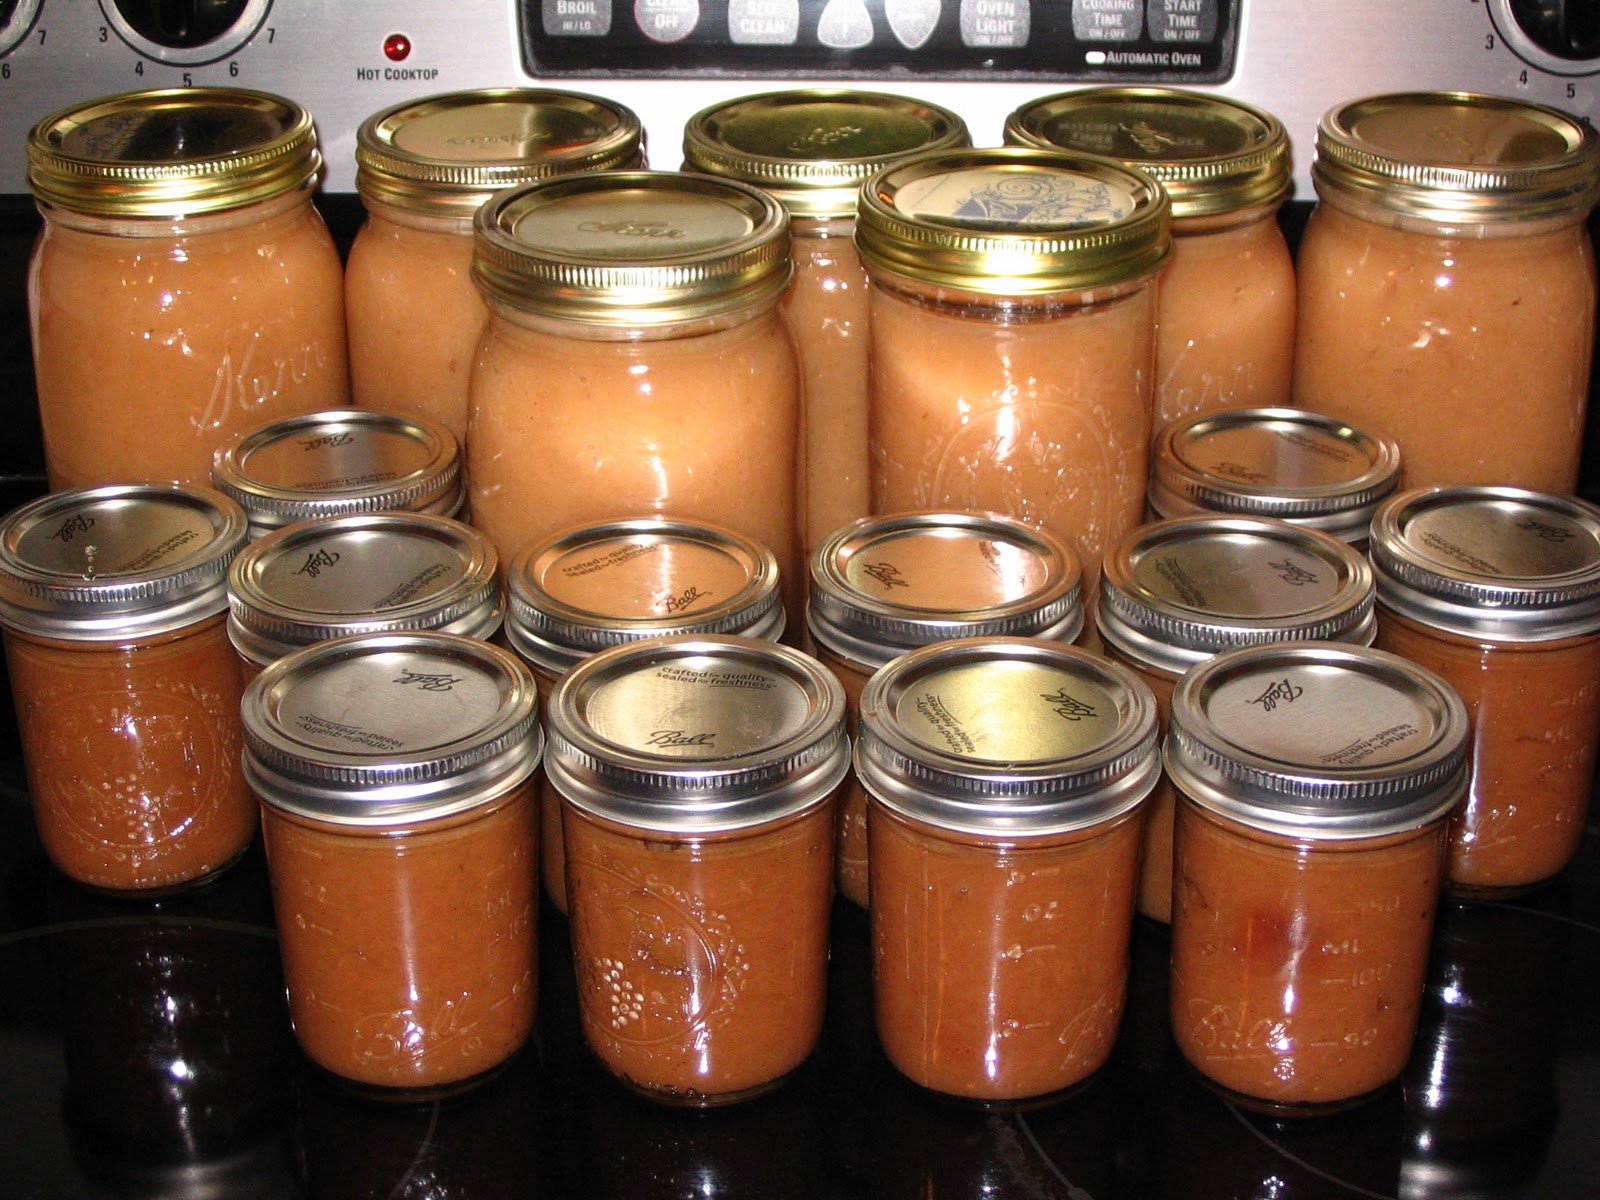

Salsa

3 large onions (white, yellow or sweet)
1 large red onion
4 cooked, skinned and seeded Anaheim peppers (more if you like it hotter)
10 pounds tomatoes (I used all the tomatoes from my neighbors and ours too, so a combo of different types and filled an 8 quart stainless steel pot two inches from the top)
2 tablespoons chili flakes
2 tablespoons salt
½ cup lemon or lime juice (I used lemon)
8 cloves garlic
1 large bunch cilantro, chopped

Add everything to the pot stirring occasionally until it comes to a boil, turn down and simmer for 20 minutes.  Pack right away, I used 9 pint and a half jars leave 1 full inch of head-space.  Can in your pressure canner at ten pounds of pressure for 45 minutes!

Green Salsa:

Same as above with these exceptions; I use 2 jalapenos and just one tablespoon of chili flake; I just use the yellow onions and omit the red.  I also cook this for about 40 minutes instead of 20 before canning.  This is a great salsa by itself, but you can also take your already canned jars and pour into your food processor, blend until smooth and use it to make enchiladas or Mexican chicken casserole (See recipe below).  You can of course freeze this instead of canning.

Disclaimer:  Please do your research on canning times as they will vary with elevation and jar size.  Canning times are important in the prevention of bacteria that can cause botulism.  Follow the canning directions that come with your pressure cooker carefully.

Mexican Chicken Casserole

4 boneless skinless chicken breast cooked and chopped into bite size pieces (this is great for leftovers too)
1 can cheddar soup
1 can cream of chicken soup
2 cans black beans
1 small package frozen corn
1 pint and a half size jar of green salsa (or same amount of store bought)
2 cups cheese of your choice (already shredded Mexican blend or Colby jack works well)
6 taco size flour tortillas
Olive oil to coat baking dish

Pre-heat oven to 350.  In a large bowl mix together chicken, both soups, black beans and thawed corn.  In a 9X13 oiled baking dish lay four of the tortillas to cover the bottom and sides of the dish.  Add half of the mixture over the tortillas, spread evenly.  Top with half the salsa and half the cheese.  Add two more tortillas to cover the top and repeat.  Place in the oven for 30 minutes and check.  It is done when cheese is melted and ingredients are bubbling!  Serve with sour cream and hot sauce.

We ate this for two nights and we are a family of four with healthy appetites.  Enjoy!